
Aroha Ngata, Staff Writer.
You’re standing at the bathroom mirror with the wand halfway to your lashes, doing that thing where you wiggle it at the base and hope. Ten minutes later you’re picking flakes off your cheekbone and wondering why the lashes that looked full in the tube look clumped and short by lunchtime. Somewhere in the drawer there are four half-used volumising mascaras, all bought on the promise of the same photo: long, fanned, dramatic lashes that somehow never quite happen at home.
Here’s the useful bit early: mascara doesn’t add length to the lash itself, it coats what’s already there, and most of what reads as “volume” in a photograph is actually about the angle of the curl and how evenly the product sits along the lash rather than how much of it you’ve applied. Once that clicks, most of the common mistakes explain themselves. This guide walks through where volume is genuinely lost, in the order it usually goes wrong, so you can fix the routine rather than keep buying a new formula.
- Volume comes from lift and separation, not thickness of product, so technique changes results more than switching formulas ever will.
- A dry, overworked wand is the single biggest cause of clumping, and it happens gradually over roughly three months of use.
- Layering wet coats over wet coats collapses lashes rather than building them, because the second coat needs the first to be touch-dry first.
Why The Wand Matters More Than The Wand’s Price
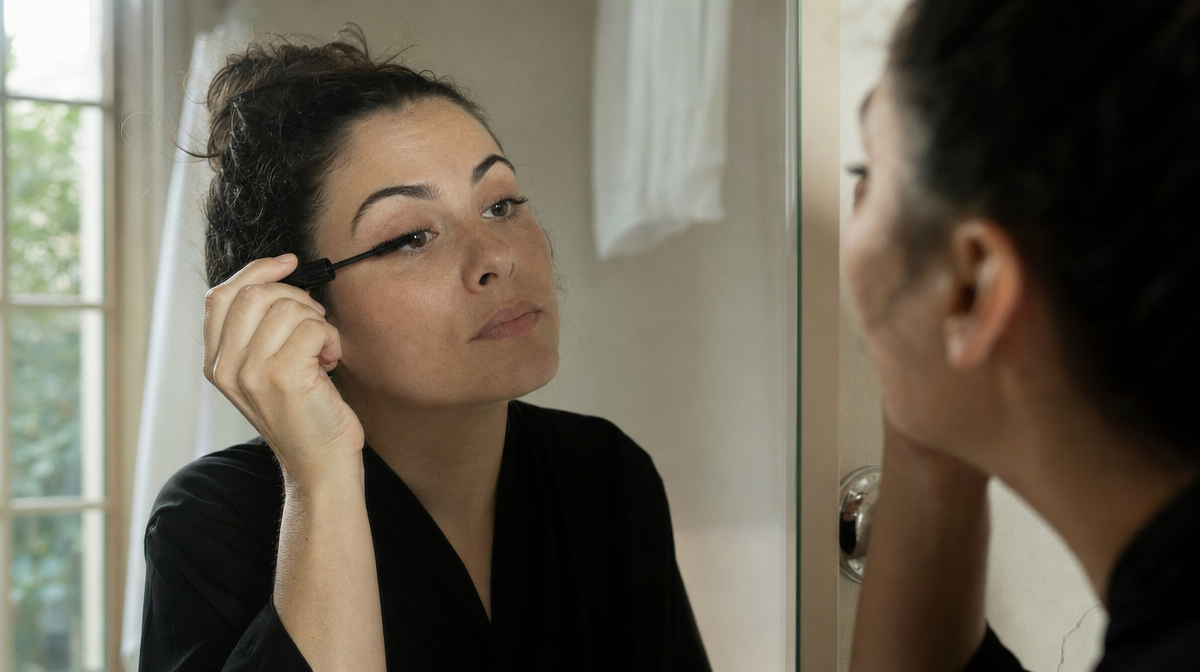
Think of a mascara wand the way you’d think of a paintbrush that’s been left in a jar of water too long. The bristles still hold paint, but they no longer place it precisely, they smear it. A mascara wand does the same job: it grabs product from the tube and deposits it along each lash in a controlled line. When the bristle spacing is too tight, the wand overloads the lash with product and you get clumps. When it’s too sparse, you get patchy coverage and no real definition.
The common mistake is assuming a densely packed, fluffy-looking wand automatically means more volume. In practice, a wand with slightly wider-spaced bristles usually separates lashes better, which is what actually reads as fuller from a normal viewing distance. A tightly packed wand can look more generous in the tube and perform worse on the lash line.
A quick self-test: after your usual application, look at your lashes side-on in a hand mirror rather than straight on. If you can see two or three lashes stuck together in a fan shape rather than as individual strands, the wand is depositing more than it’s separating, regardless of how good the formula is.
The Pumping Habit That Dries Out Every Formula Early
Almost everyone pumps the wand up and down in the tube before applying, on the assumption that it loads more product. What it actually does is push air into the tube with every stroke, and that air dries the formula out from the inside. A mascara that performed beautifully in week one can turn stringy and clumpy by week six for this reason alone, long before the use-by date on the barrel.
The better habit is to twist the wand gently as you withdraw it, letting the tube’s own wiper ring do the work of removing excess product evenly. It feels like it’s doing less, and that’s the point.
Most formulas are rated for use of around three months once opened, and dermatology guidance published by DermNet generally recommends replacing eye-area cosmetics on a similar timeline, partly for hygiene and partly because performance genuinely degrades. If a mascara has started to smell different, or the wand drags rather than glides, it’s past its useful window regardless of how much is left in the tube.
Curling Before, Not After
Curling lashes after mascara has been applied is one of the more common ways volume gets lost, and it’s rarely mentioned on packaging. Once mascara has set, the lash is coated in a semi-rigid film. Clamping a curler onto that film can crack it or bend the lash unevenly, and in some cases pulls out lashes that are already weakened by the coating.
The order that gives the best lift is curler first, on completely bare lashes, holding for a few seconds at the base rather than yanking upward. Mascara goes on after, once the curl has set. This isn’t a matter of taste: the mechanical reason is that a lash curls more predictably when it’s still flexible, the same way a strip of paper folds more cleanly before it’s laminated than after.
A warmed curler, warmed briefly with a hairdryer for a second or two and tested against the back of your hand first, holds a curl measurably longer than a cold one for most hair types, though it’s worth being cautious with heat near the eye area.
Building Volume In Layers Without Collapsing It
The instinct to apply a second or third coat immediately is understandable, since the first coat rarely looks finished. The mistake is applying that second coat while the first is still wet. Two wet layers merge into one heavier, tackier layer that clumps as it dries, and the extra weight can drag straight lashes down rather than holding them up.
The method that actually builds volume is to let the first coat dry for around 45 to 60 seconds, until it’s tacky rather than wet, before going back in. That short pause allows the first layer to set as scaffolding, and the second layer builds on top of it rather than blending into it.
Wiggling the wand at the base and dragging upward through the tips, rather than dragging straight up from root to tip in one stroke, coats more of each lash’s surface area and is the technique most likely to visibly separate lashes rather than fuse them. It takes an extra few seconds per eye. That’s the trade-off: better volume takes slightly longer to apply, not a thicker formula.
Reading Ingredient Lists Without Expecting Miracles
Waxes such as carnauba or beeswax are what physically coat and thicken the lash, and polymers are what help the coating hold its shape once it dries. Fibres, where included, are designed to bridge the tip of the lash and add apparent length, though their effect washes out the moment the formula flakes.
What ingredient lists can’t tell you is how a formula will behave with your particular lash type, curl pattern, or the humidity of the day. A formula that performs well in a controlled lab photograph may behave differently on lashes that are naturally straight or sparse, which is one reason lash performance claims on packaging are usually paired with a small-print note that results were observed on a specific number of participants over a set number of weeks.
It’s worth treating marketing language like “lash-lifting technology” or “volumising complex” as descriptive rather than diagnostic. These are formulation choices, not guarantees, and a cheaper formula with good wax content and a well-designed wand will often outperform an expensive one with a poorly shaped brush.
Removing Mascara Without Pulling Lashes Out With It
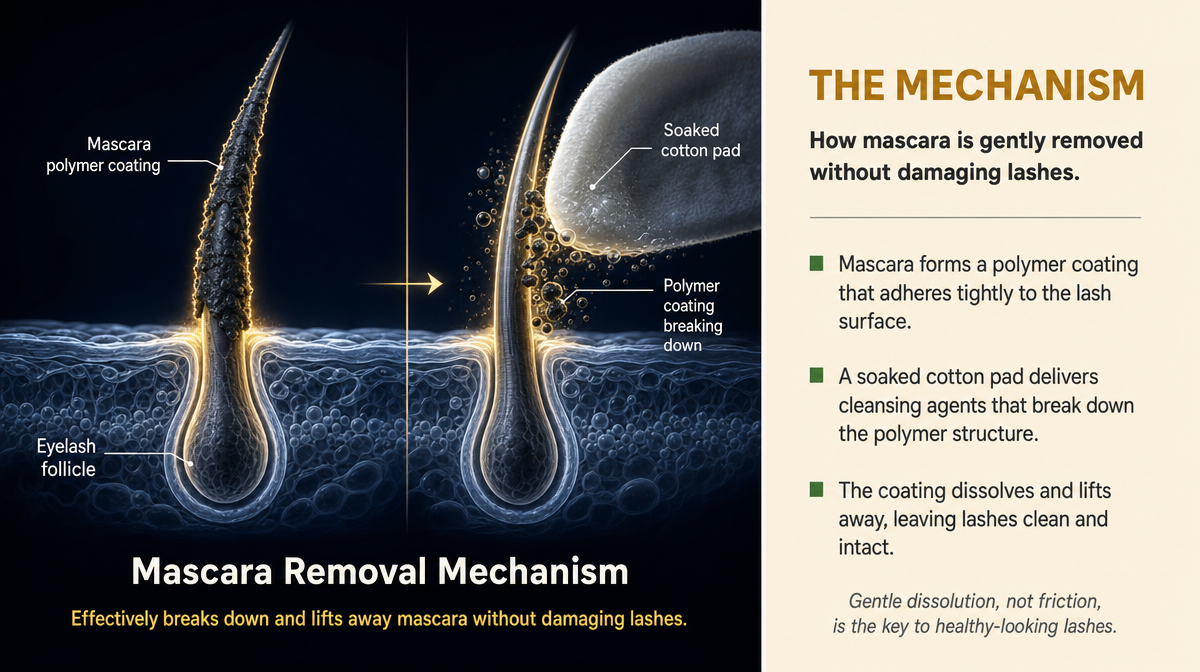
Volume lost over months, rather than in a single application, is often down to removal habits rather than the mascara itself. Rubbing at the eye area to get the last of the product off, especially with a dry cotton pad, drags on lashes that are still anchored in the follicle and can accelerate shedding.
A soaked cotton pad, held against closed lashes for ten to fifteen seconds before wiping, allows the oils or micellar solution to break down the waterproof polymers first. The lashes should come away with minimal friction. If there’s still resistance, the answer is another few seconds of soaking, not more pressure.
A 2021 study in the International Journal of Trichology noted that mechanical stress from repeated rubbing was associated with increased lash shedding over time, which lines up with what most dermatologists observe anecdotally: eyelashes are more fragile than head hair and have a shorter growth cycle, so damage shows up as visibly reduced density within a matter of weeks rather than months.
Judging Results Honestly, And When To Stop Tweaking
It helps to judge a mascara’s performance at two points, not one: straight after application, and again about six hours later. A formula that looks full and separated at nine in the morning but has flaked or dropped by mid-afternoon isn’t holding its structure, and no amount of extra coats will fix that, since the problem is the formula’s flexibility rather than the amount applied.
Consumer NZ’s general guidance on cosmetic testing points out that lab conditions rarely replicate a full day of blinking, humidity, and incidental rubbing, which is a useful reminder that a mascara’s in-store swatch tells you very little about its all-day behaviour on an actual face.
If lashes look good on application but consistently underperform by evening, the fix is usually technique (thinner coats, more drying time between layers) rather than formula. If lashes look patchy even immediately after application despite careful technique, that’s a genuine formula or wand mismatch, and it’s reasonable to stop persisting with it.
Key Takeaways
Volume is mostly a function of technique and timing, not the strength of a single product. The habits that make the biggest visible difference are: twisting rather than pumping the wand, curling before mascara rather than after, letting coats go tacky before layering, and removing product gently rather than scrubbing it off. None of these cost anything extra, and most take only a few added seconds per application.
A Quick Pre-mirror Checklist
- Curl bare lashes first, hold at the base for a few seconds
- Twist the wand out of the tube, never pump
- Apply the first coat wiggling at the base, dragging to the tips
- Wait 45 to 60 seconds before a second coat
- Check lashes side-on for clumping, not just straight on
- Soak, don’t scrub, when removing at night
- Replace the mascara around the three-month mark, sooner if it drags or smells different
This article is general information only and doesn’t replace advice from a dermatologist or your own patch testing.
Individual results vary depending on lash type, application technique and product formulation.