
Simon Kelly, Staff Writer.
You are standing at the bathroom mirror turning your hand under the light, wondering why the gel manicure that looked flawless on day one is already lifting at the cuticle by day four. Somewhere in the cupboard there is a half-used bottle of base coat, a lamp you are not sure is strong enough, and a growing pile of nail files you bought in a hurry. The question you actually type into Google is usually some version of “why does my gel polish keep peeling off”, and the honest answer has less to do with the polish and more to do with what happens before you ever open the bottle. One genuinely useful fact to start with: gel polish does not dry, it cures, a chemical reaction triggered by light rather than by air, and that single difference explains almost every mistake beginners make.
- Prep decides everything: buffing and dehydrating the nail plate matters more than which polish you buy.
- Curing is not universal: a lamp and polish system need to match, since wattage on the box does not guarantee the right light output.
- Soaking off beats peeling: pulling gel off by hand removes part of the natural nail plate along with it.
Why Gel Polish Behaves Nothing Like A Normal Manicure
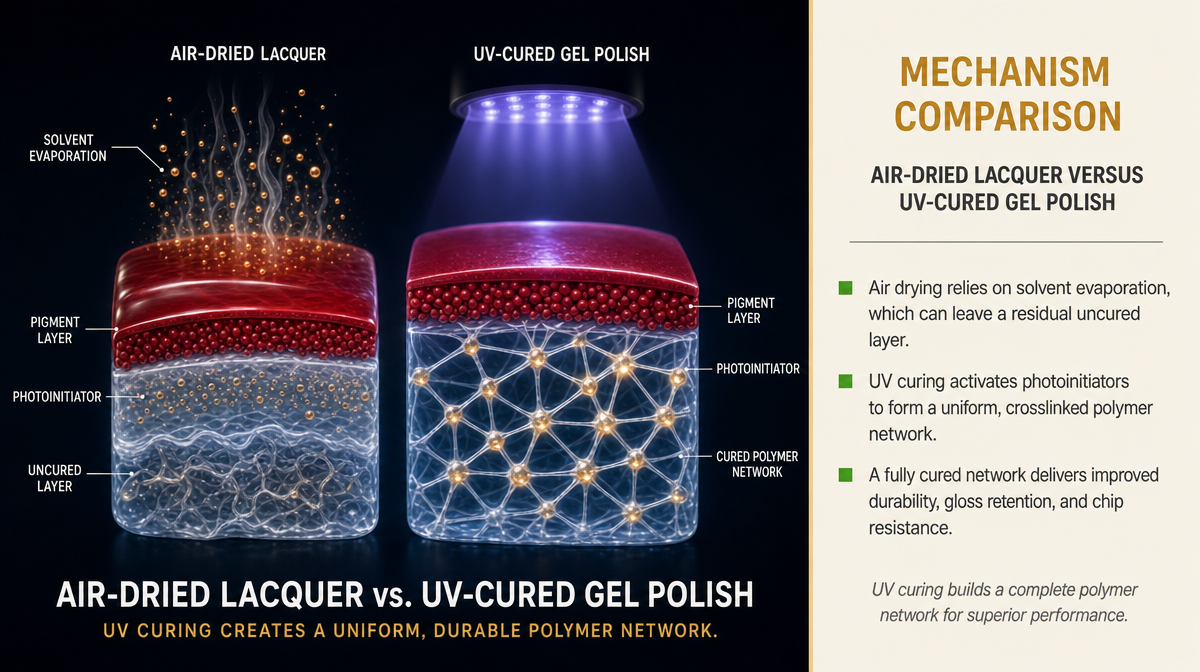
Ordinary nail polish dries the way wet paint dries: solvents evaporate into the air and the pigment layer hardens as they leave. Gel polish does something else entirely. It contains a mix of monomers and photoinitiators that only link together, into a hard polymer network, when hit with a specific wavelength of UV or LED light. Nothing evaporates. Nothing dries in the everyday sense.
Think of it the way an electrician thinks about two-part UV resin. Mix ordinary resin and leave it on the bench and it stays soft for hours. Shine the right light on a UV-reactive resin and it sets almost instantly. Gel polish works on the same idea in miniature: the light is not decoration, it is the ingredient that finishes the job.
This matters practically because a coat that looks touch-dry under a lamp can still be under-cured underneath. A 2016 paper in the Journal of Cosmetic Science examining photoinitiator behaviour in UV-cured coatings found that cure depth drops sharply once a layer exceeds about 0.5 millimetres, thinner than most beginners realise when they load the brush generously. Thick coats trap uncured gel under a cured surface skin, and that hidden layer is usually where lifting starts a few days later, not at the free edge where most people assume the fault lies.
Getting The Nail Plate Ready, Not Just Tidy
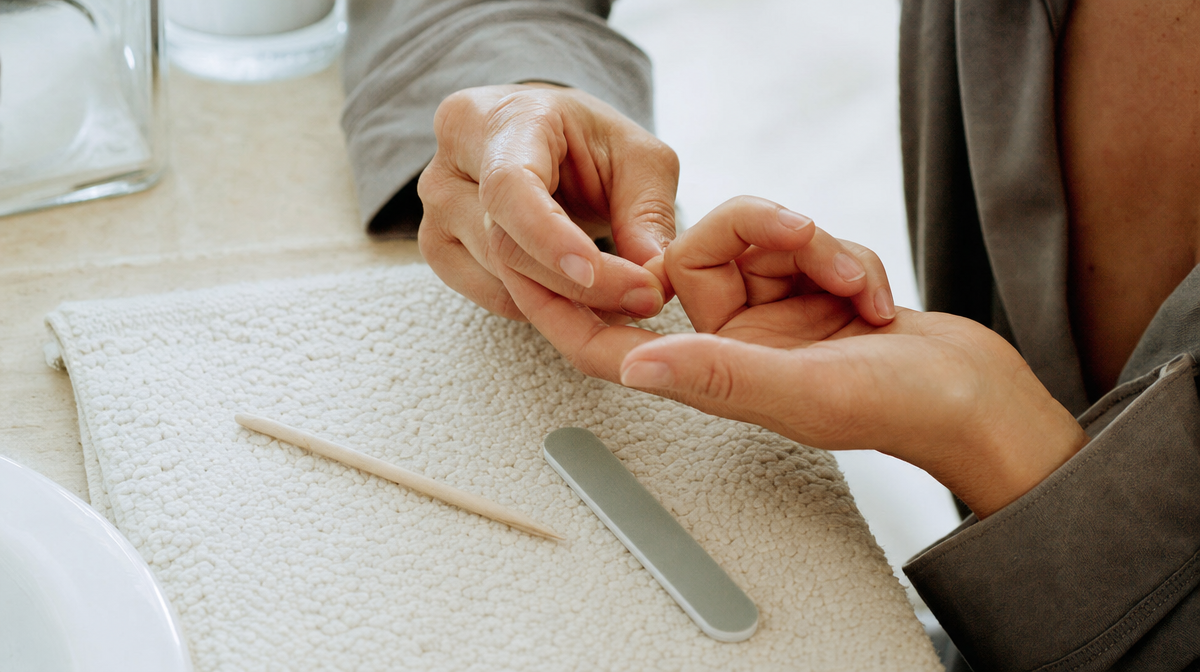
Most lifting complaints trace back to the ninety seconds before the first coat goes on, not the polish itself. Gel needs a slightly rough, oil-free surface to grip, the same reason a painter sands a glossy door before repainting it.
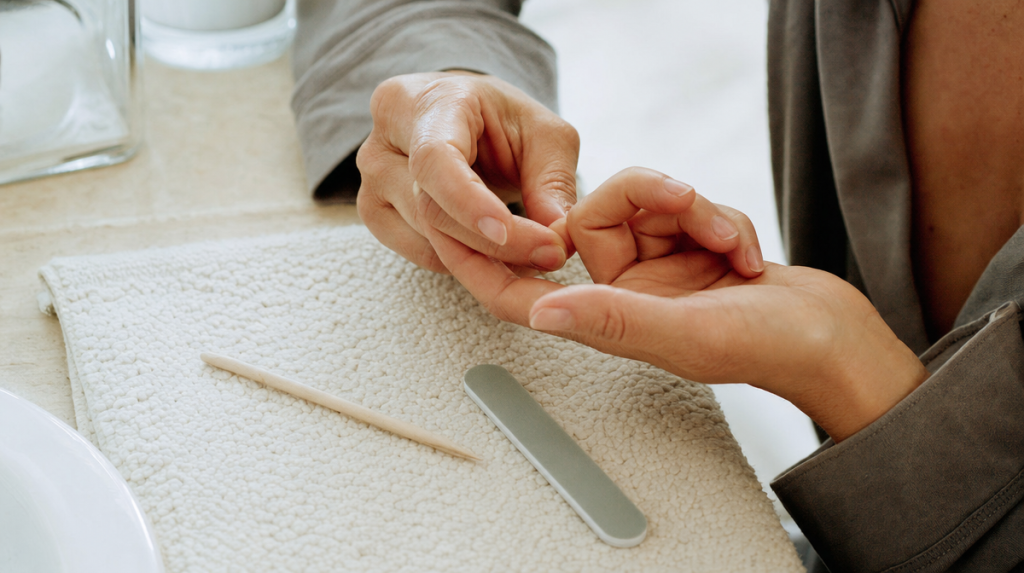
Start by pushing back the cuticle with a wooden stick rather than cutting it, since cutting live skin invites infection and does nothing for adhesion. Then lightly buff the natural shine off the nail plate with a fine-grit buffer, just enough to remove the glassy sheen, not enough to thin the nail. Wipe the nail with an alcohol-based cleanser or a dedicated dehydrator to strip away oils from hand cream, food, or simply skin. Skip this step and the gel is essentially trying to stick to a faintly oily surface, which is why polish applied straight after a hand cream session tends to peel off in whole sheets within two days.
A quick self-test: after cleansing, hold your hand under a light and check the nail looks matte, not shiny. If you can still see a sheen, dehydrate again before applying base coat. DermNet’s public guidance on nail cosmetic procedures notes that thorough surface preparation and avoiding damage to the nail fold are the main factors separating a manicure that lasts from one that does not, which lines up with what most salon technicians will tell you if you ask.
Layering In The Right Order, And Why Thin Coats Win
The standard order is base coat, two thin colour coats, then top coat, each cured separately before the next goes on. Skipping the base coat is the single most common shortcut beginners take, and it is also the fastest way to see gel peel off in one intact sheet, because gel colour does not bond well directly to the nail keratin the way a base coat is formulated to.
Thin coats matter more than most people expect. A coat that looks properly opaque wet often looks patchy once cured, so the temptation is to load the brush heavily on the second pass. Resist it. Two thin coats cure evenly all the way through; one thick coat cures on the surface while staying soft underneath, which shows up later as a dent or a wrinkle near the cuticle line where the layer is thickest.
Cap the free edge, meaning run the brush over the very tip of the nail with each coat, since this is the point that takes the most daily knocking and is usually the first place gel chips. Leave a tiny gap, less than a millimetre, between the polish and the surrounding skin, both because gel that touches skin cures onto skin and lifts almost immediately, and because it looks tidier once grown out.
Curing Lamps: What Wattage And Light Type Actually Change
Not all lamps cure all gels. UV lamps and LED lamps emit different wavelength ranges, and a gel formulated for one may under-cure badly under the other. Cheaper lamps also vary a surprising amount in actual output despite similar wattage figures printed on the box, since wattage measures power draw, not the intensity of light reaching the nail.
The practical fix is simple: follow the cure time printed for your specific product and lamp type rather than a generic figure, and if you switch lamps, treat the first manicure as a test rather than assuming the old timing still applies. Hold your hand flat and close to the bulbs, since curing happens by direct exposure, and fingers curled away from the light source will under-cure at the sides.
On safety, DermNet’s general guidance on nail lamps notes that UV exposure from these devices is brief and localised compared with sun exposure, but sensible precautions such as applying a broad-spectrum sunscreen to the hands beforehand or wearing fingerless UV-protective gloves are reasonable for anyone using a lamp often. This is general public health advice rather than anything specific to one brand of lamp or polish, and it is worth taking seriously if manicures are a weekly habit rather than an occasional treat.
Removing Gel Without Removing Part Of Your Nail
The correct removal method is soaking, not peeling, and the difference matters more than it sounds. Gel bonds to the surface layers of the nail plate itself, so pulling a half-cured or fully cured strip off by hand takes some of that surface layer with it, leaving nails thin, rough, and prone to splitting for weeks afterwards.
The soak-off method: lightly buff the shiny top coat to break the seal, saturate a small cotton pad with acetone, press it onto the nail, and wrap the fingertip in foil to hold it in place and keep the acetone from evaporating. Ten to fifteen minutes is typical, though thicker or older gel can take longer. The gel should then slide or gently scrape off with a cuticle stick, not require force. If it resists, wrap it again rather than scraping harder.
A useful self-test for judging whether you are removing gel safely: if the nail underneath looks white, chalky, or faintly textured immediately after removal, that is dehydration and light surface effect from the acetone and buffing, which usually settles with cuticle oil over a week or two. If the nail looks visibly thinner or flakes in layers, that is mechanical damage from picking, and it takes considerably longer to grow out. Nail technicians and dermatology sources generally treat habitual peeling, rather than the gel chemistry itself, as the main driver of long-term nail thinning in regular gel wearers.
Reading The Label: Gel, Gel-effect, And Hybrid Claims Explained
Packaging language in this category is not standardised, and that is where a lot of confusion starts. True gel polish requires curing under UV or LED light and will not dry through the air at all, no matter how long you wait. “Gel-effect” or “gel-like” polish is ordinary air-dry lacquer formulated to look glossy and last a little longer than basic polish, but it needs no lamp and is chemically closer to standard nail varnish. “Hybrid” or “gel-hybrid” systems usually sit in between: a soak-off gel-style formula applied with a brush from a bottle rather than a pot, still requiring a lamp.
None of these terms are policed the way sunscreen SPF claims are, so the only reliable way to tell them apart is to check whether the instructions mention curing time under a lamp. If a lamp is not mentioned anywhere on the box, it is not gel in the technical sense, regardless of how the word appears on the front label.
Consumer NZ, which has independently lab-tested household and beauty products since 1959, has previously covered durability testing of nail polish types in its consumer research, a reminder that wear-time claims printed on packaging are worth treating as a starting point rather than a guarantee, since application technique and aftercare change results more than the formula alone.
Building A Simple Starter Kit Without Overspending
A beginner really needs five things: a lamp matched to the polish system chosen, a fine buffer, lint-free wipes, a dehydrating prep solution, and a decent cuticle oil for aftercare. Everything else sold alongside gel ranges, extension tips, rhinestone kits, specialty top coats promising extra shine, is optional and largely about styling rather than durability.
Spend the money where it affects wear time: a reliable lamp and a proper base coat. Save it on decorative extras, since a plain glossy top coat performs the same protective job as a designer-branded one; the difference is mostly cosmetic. New Zealand Woman’s Weekly and other lifestyle titles regularly feature seasonal gel colour trends, a fine place to look for colour inspiration, but trend coverage is not the same as a durability recommendation, and it is worth keeping those two kinds of advice separate in your head.
If you are unsure whether to buy a UV or an LED lamp, check which one the polish’s own instructions specify, since using the wrong light type is one of the more common reasons a first attempt at home gel fails to cure properly even when every other step was followed correctly.
What Normal Wear Actually Looks Like, And When To Worry
A well-applied gel manicure typically holds without chipping for two to three weeks, with the main sign of ageing being visible regrowth at the cuticle rather than chipping at the tip. Some lifting right at the very edge by week three is normal wear, not a fault.
Lifting within the first two to three days almost always points back to preparation or curing, not the product itself: oil left on the nail, coats applied too thickly, or a lamp that under-cured one hand because it was angled away from the light. Bubbling that appears within the first hour, before the top coat, usually means the brush was overloaded or the bottle was shaken rather than rolled, introducing air.
If your nails feel notably thinner, peel in layers, or look ridged after several consecutive gel manicures, that is a signal to take a break rather than push through with another set. A rest period of two to four weeks, using a strengthening treatment or plain cuticle oil, generally allows the nail plate to recover, according to general nail health guidance from dermatology sources. This is worth taking seriously since nail damage accumulates quietly over months, well before it becomes visible enough to notice in the mirror.
Key Takeaways
- Gel hardens by light-triggered curing, not evaporation, so lamp match and cure time matter more than the polish brand.
- Most lifting problems start in the ninety seconds of preparation before the first coat, not in the bottle.
- Thin coats, a genuine base coat, and capping the free edge protect against the most common early failures.
- Soaking off protects the nail plate; peeling or picking removes part of it.
- Marketing terms like gel-effect and hybrid are not curing systems by themselves, so check the lamp instructions to know what you are actually using.
Quick Checklist Before Your Next Gel Manicure
- Nails buffed matte and wiped with dehydrator, no visible shine before base coat
- Base coat applied and cured before colour goes on
- Two thin colour coats, each cured separately, free edge capped
- Small gap left between polish and surrounding skin
- Lamp matches the polish system, cure time following product instructions rather than habit
- Removal by soak-off with foil wraps, ten to fifteen minutes, never peeled off dry
- Cuticle oil applied daily between manicures, with a rest week every few sets
This article is general information and does not replace advice from a qualified nail technician or dermatologist.
Individual results vary depending on nail condition, application technique, and aftercare.